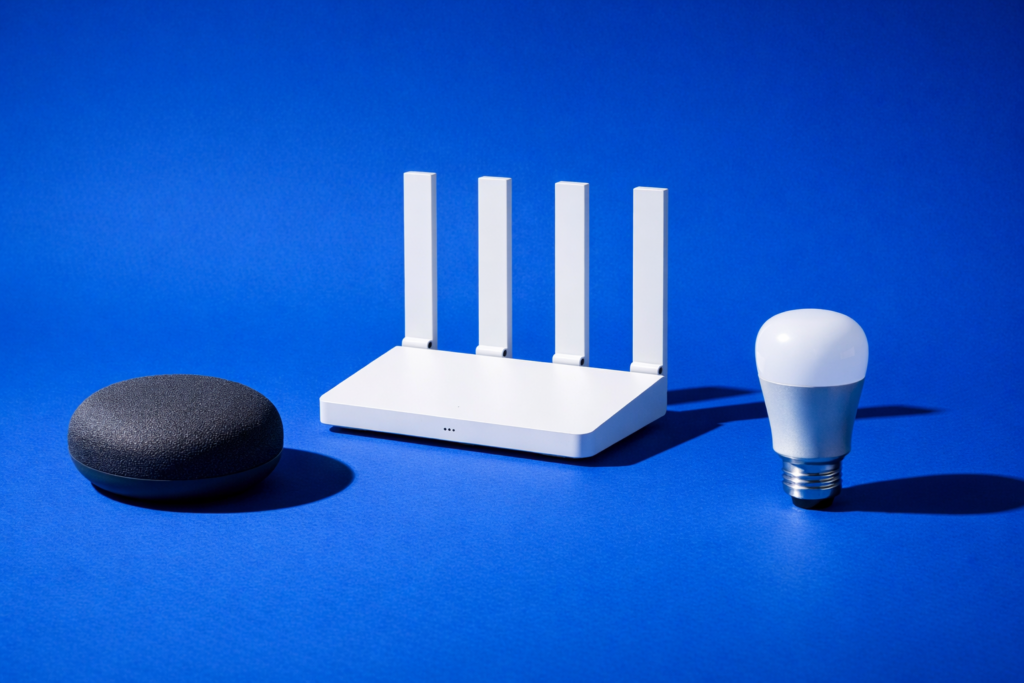
To set up smart home devices without making life harder, start small, choose one platform, and add only the devices you will actually use. A good smart home should save time, improve comfort, and stay easy for everyone in the home to control, even if the internet goes down or one app changes.
This guide walks through the full process, from planning and Wi-Fi to device types, routines, security, and troubleshooting. The goal is not to build the most advanced system. It is to build one that works reliably and feels simple every day.
What a simple smart home should do
A well-designed smart home usually does a few things very well:
- Controls lighting easily
- Adjusts temperature efficiently
- Improves security and awareness
- Automates repetitive tasks
- Lets multiple people use it without confusion
If a device adds friction, creates extra apps, or needs constant attention, it may not be worth adding. Simplicity comes from restraint as much as technology.
Set up smart home basics before buying anything
Before you buy devices, decide how you want the system to work. This avoids the most common mistake: collecting gadgets that do not cooperate well.
1. Pick your main platform
Most smart homes work best with one main control platform. This might be a voice assistant, a phone-based ecosystem, or a dedicated hub. The exact products available vary by region, but the principle is the same: choose one primary system and build around it.
When comparing platforms, look for:
- Support for the devices you want most
- A simple app with routines or automations
- Voice control if you want it
- Access for multiple household members
- Reasonable privacy settings and account security
It is fine if some devices also support other systems. Just avoid running your home through three different apps when one would do.
2. Decide what problem you are solving
Start with needs, not gadgets. Ask:
- Do you want lights to turn on automatically?
- Do you want to cut heating or cooling waste?
- Do you want to check doors, windows, or cameras remotely?
- Do you want easier control for elderly family members or children?
Your first devices should answer your most useful problem, not your most interesting one.
3. Check your Wi-Fi and network basics
Many smart home problems are really network problems. Before adding devices, make sure:
- Your Wi-Fi reaches the rooms where devices will go
- Your router is stable and reasonably modern
- You know your Wi-Fi name and password
- You can access your router settings if needed
Large homes, thick walls, and concrete construction can weaken signals. In that case, you may need a mesh Wi-Fi system or a better router setup. Smart devices often work on 2.4 GHz networks because they prioritize range over speed.
Data security warning: Change default router passwords, keep router firmware updated, and enable strong encryption if available. A smart home is only as secure as the network it uses.
The easiest order to build your smart home
If you build in stages, it is much easier to keep things organized and avoid wasted money. This order works well for most homes.
Stage 1: Start with lighting
Smart lighting is usually the simplest and most useful first step. You can choose smart bulbs, smart plugs for lamps, or smart wall switches where suitable.
Smart bulbs are easy to install and good for renters, but the wall switch must stay on.
Smart plugs are ideal for table lamps and simple on-off appliances. They are often the cheapest way to test automation.
Smart switches can feel more natural because they work like normal wall controls, but installation may involve household wiring.
Electrical safety warning: If a device requires hardwiring, switch off power at the breaker or consumer unit first and follow local electrical rules. Wiring colors, back boxes, neutral requirements, voltage, and certification rules vary by region. If you are unsure, hire a qualified electrician.
Good first automations for lighting include:
- Entry lights turning on at sunset
- Bedroom lamps turning off at a set time
- Motion-activated lighting in hallways
- A single “good night” command that turns off selected lights
Stage 2: Add smart plugs and simple sensors
Once lighting works reliably, add a few simple devices that increase convenience without adding much complexity.
- Smart plugs for fans, lamps, or seasonal lighting
- Motion sensors for hallways or storage areas
- Door or window sensors for awareness and basic security
- Temperature or humidity sensors for comfort monitoring
These devices become more useful when linked to routines. For example, a hallway light can switch on only when motion is detected after dark.
Stage 3: Add heating, cooling, or climate control
Smart thermostats and radiator or room controls can improve comfort and reduce wasted energy, but they need more planning. Before buying, check compatibility with your existing heating or cooling system. Controls for boilers, heat pumps, furnaces, air conditioning, and electric heating differ by region and system type.
Look for features such as:
- Scheduling by time of day
- Remote control
- Room-by-room adjustments if supported
- Manual override on the device itself
Safety warning: If installation involves mains voltage, heating wiring, gas appliances, or boiler controls, use a qualified professional and follow local regulations.
Stage 4: Add security devices carefully
Smart cameras, video doorbells, locks, alarms, and leak detectors can be genuinely useful, but they also raise privacy and reliability questions.
Start with the simplest and least intrusive devices:
- Door and window sensors
- Water leak sensors near washing machines, sinks, water heaters, or dishwashers
- Outdoor lighting with motion detection
Then consider cameras or locks only if you have a clear use for them.
Security and privacy warning: Use strong unique passwords, enable two-factor authentication if available, and review who has access to video feeds and remote controls. Be careful with indoor cameras in private spaces. Also check local rules on recording audio or video, especially where shared spaces or public areas are involved.
Stage 5: Consider a hub only if it solves a problem
Some homes need a dedicated smart home hub. Others do not. A hub can help if:
- You want devices from different makers to work together
- You want more advanced automation
- You want better local control if the internet fails
- You are using low-power smart home protocols that rely on a bridge or hub
Do not add a hub just because it sounds more advanced. Add one when it clearly makes the system simpler or more reliable.
How to choose devices that stay simple
When comparing products, focus less on long feature lists and more on daily use.
Prioritize compatibility
Check that each device works with your chosen platform before you buy it. Do not assume support just because two products are both called “smart.”
Look for local control and manual backup
The best smart devices still work in a basic way when the app is unavailable. Examples include:
- Bulbs that still respond to wall power
- Switches with physical buttons
- Locks with key access or another backup method
- Thermostats with on-device controls
A smart home should not leave you stuck because your phone battery died.
Avoid app overload
If every new device needs its own separate app, account, and login, your setup becomes harder to maintain. Whenever possible, choose devices that can be controlled in your main platform and grouped together.
Choose reliability over novelty
Color-changing lights, animated scenes, and niche accessories can be fun, but they are rarely the foundation of a simple smart home. Put your budget and attention into devices that handle daily tasks well.
Step-by-step: how to set up smart home devices cleanly
- Map the rooms. List each room and note where smart control would help most.
- Choose one platform. Make it your main app and voice control system if you use one.
- Improve Wi-Fi first. Fix weak spots before adding devices.
- Start with one category. Lighting is usually best.
- Name devices clearly. Use simple names such as “Kitchen Lamp” or “Hall Sensor.”
- Group by room. This makes voice commands and app control much easier.
- Create only two or three routines at first. For example, “Morning,” “Away,” and “Good Night.”
- Test manually first. Make sure each device works by itself before using automations.
- Add household members. Give appropriate access and show them the basics.
- Document the setup. Keep a note of apps, accounts, device names, and any reset instructions.
This last step matters more than people expect. Even a simple note on your phone can save a lot of time later.
Useful routines that do not feel fussy
The best routines are predictable and easy to override. Here are examples that usually stay useful:
Morning routine
- Bedroom or kitchen lights turn on gradually
- Heating or cooling shifts to a comfortable setting
- A favorite smart plug turns on a lamp or another simple device
Leaving home routine
- Selected lights switch off
- Heating or cooling moves to away mode
- Doors or sensors are checked if your system supports it
Evening routine
- Entry lights turn on at sunset
- Living room lights dim at a set time
- Outdoor lights activate only if motion is detected
Good night routine
- Downstairs or shared-area lights switch off
- Bedroom lighting dims
- Doors are checked or locks confirmed if supported
Try to avoid very fragile automations with too many conditions. If a routine depends on five sensors, two apps, weather data, and location tracking, it is more likely to break.
How to keep your smart home secure and private
Convenience should not come at the cost of weak security. Basic smart home hygiene goes a long way.
- Use a strong unique password for each main account
- Enable two-factor authentication where available
- Keep apps, hubs, routers, and devices updated
- Remove devices you no longer use
- Review app permissions and account sharing regularly
- Be cautious with microphones, cameras, and cloud recordings
If your router supports a separate network for smart devices, that can be a sensible extra layer. The exact setup depends on your network equipment.
Common mistakes that make smart homes feel complicated
Buying too much too early
It is easier to add devices later than to untangle a rushed setup.
Mixing too many ecosystems
Three apps, two voice assistants, and a separate hub often create confusion rather than flexibility.
Ignoring physical controls
People still want to press a switch, adjust a thermostat, or open a lock without using a phone.
Building around gimmicks
Choose practical automations first. Novelty wears off quickly if the basics are unreliable.
Forgetting other users
A smart home should make sense to guests, children, older adults, and anyone who shares the space.
Troubleshooting when things stop working
If a device becomes unreliable, work through the basics in order:
- Check power. Confirm the device is switched on and receiving power.
- Check Wi-Fi or hub connection. Weak signal is a common cause.
- Check the app. See whether the device is offline or needs reauthentication.
- Restart the device. A simple reboot often fixes temporary faults.
- Restart network equipment if needed. Do this carefully and one step at a time.
- Check for firmware updates. Outdated software can cause pairing or stability issues.
- Test manual control. If a switch or button still works locally, the problem may be network-related rather than hardware-related.
If a wired device, lock, heating controller, or water-related device behaves unpredictably, do not keep forcing it. Follow the manufacturer instructions and get qualified help where safety is involved.
When a smart home is worth it, and when it is not
A smart home is worth it when it removes small daily annoyances, helps manage energy use, or improves awareness and safety. It may not be worth it if you are adding devices mainly because they sound impressive.
For many homes, the sweet spot is modest:
- A few lights or lamps
- One or two plugs
- A thermostat or climate control device
- Leak sensors or entry sensors
- A handful of simple routines
That setup can feel genuinely helpful without becoming another system to manage.
Frequently asked questions
Do I need a hub to set up a smart home?
No. Many homes can start with app-connected devices and a main platform. A hub is useful when you want better compatibility, more advanced automations, or stronger local control.
What is the best first smart home device to buy?
For most people, smart lighting or a smart plug is the easiest place to start. It is simple to install, easy to understand, and immediately useful.
Will smart home devices still work if the internet goes down?
It depends on the device and system. Some functions may still work locally, especially with physical controls or local hubs, while cloud-based features may stop temporarily. Check this before you buy if reliability matters to you.
Are smart home devices safe?
They can be, if installed and managed properly. Follow electrical and heating safety rules, use qualified professionals where needed, and protect your accounts and network with strong passwords and updates.
How many devices should I start with?
Start with just a few. One room or one problem is enough for the first stage. If that setup feels reliable and helpful after a few weeks, expand slowly.
A simple smart home is usually the best smart home. If you choose one platform, start with practical devices, keep manual controls, and build in stages, you can create a system that feels helpful rather than high-maintenance. Start small, keep it tidy, and let usefulness decide what comes next.


